
Bullion.
Bullion.
BULLION.
Okay, now that that's out of my system, let's get into today's topic. Occasionally I'll get the urge to expand my encyclopedia of crochet stitches beyond the big five(slip, chain, single, double, triple) and learn something completely new to spice up my designs a bit.
With that in mind, I found this video from Margaret Hubert Originals the other day;
The bullion stitch, also known as the roll stitch, looks pretty cool to me, so I decided to try it out...first things first, I made up a swatch.
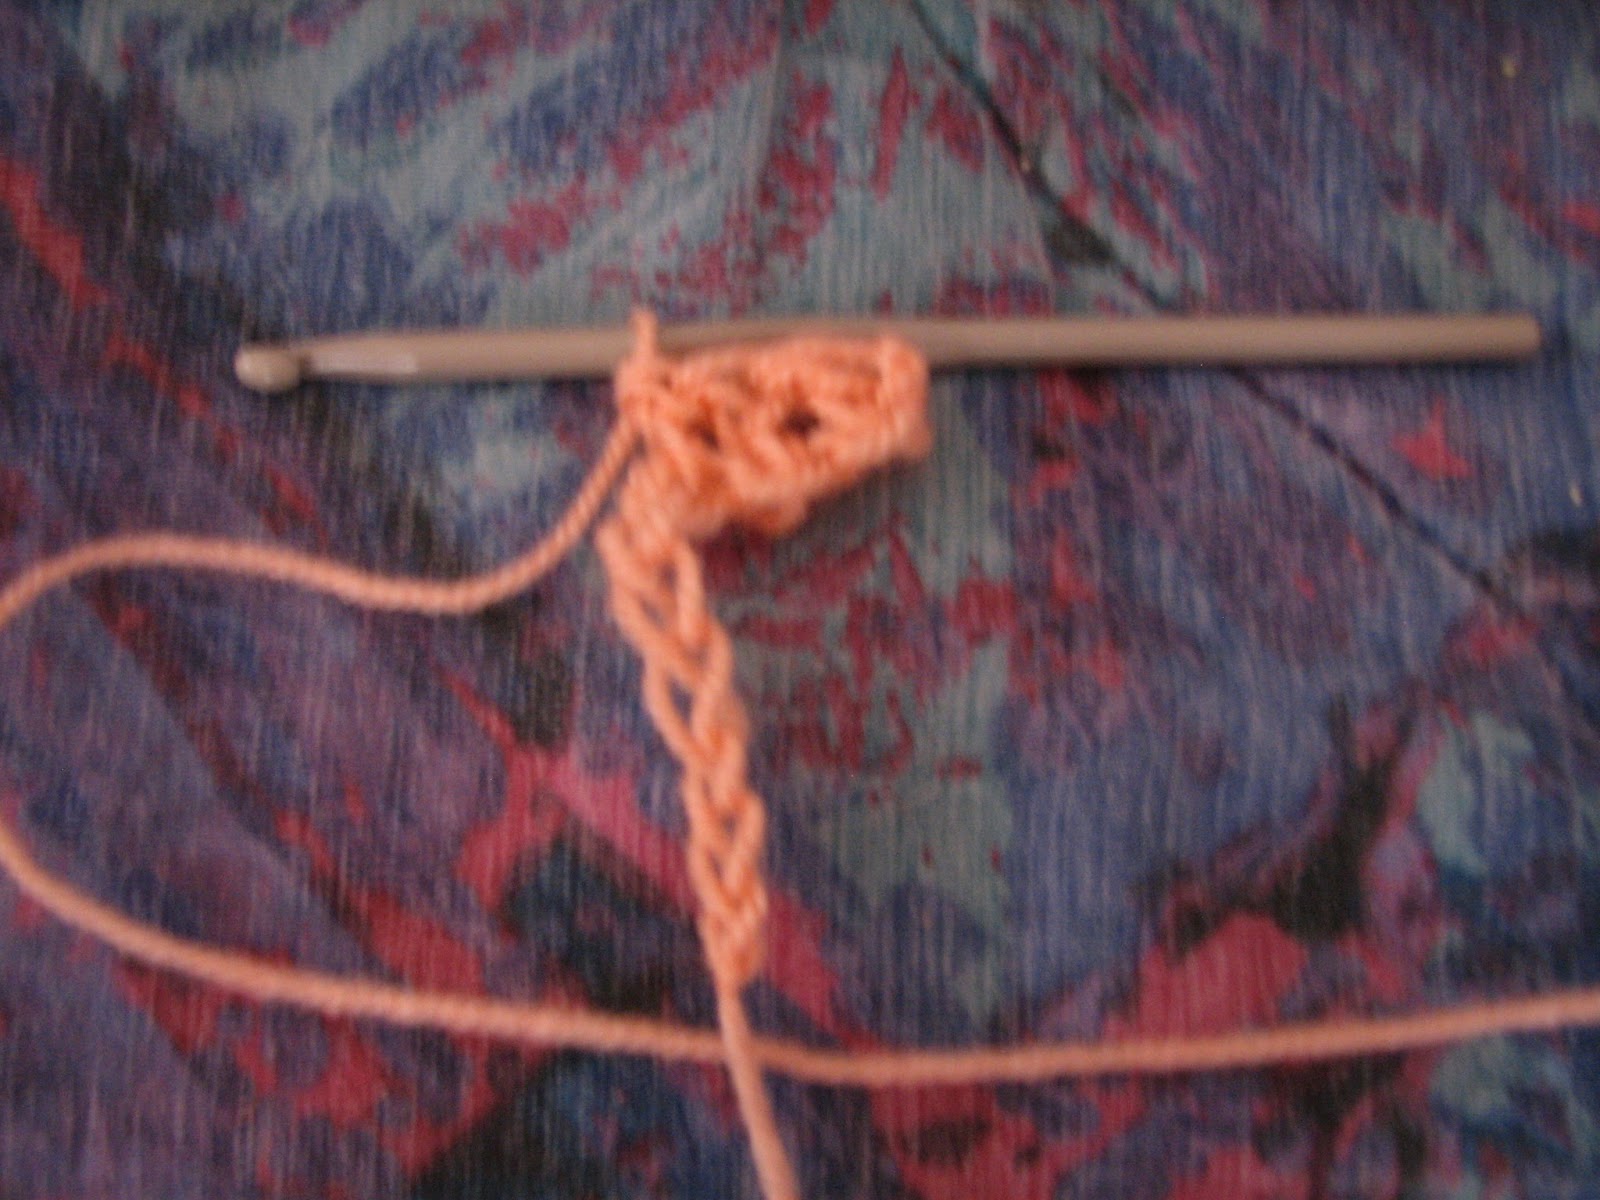
That's a few double crochet stitches made with a 5.0 mm(H) hook, and some unfortunately anonymous coral light worsted weight acrylic yarn that I've had for a while and lost the label. It's a pretty color, isn't it? |
Here we have our complete test swatch. Please ignore the wonky right edge, I was in a hurry to try the new stitch and didn't bother making it even. Overall, you have 12 chain stitches, 10 dc, turn, 2 dc, 1 ch, 2dc repeated until the last 3 stitches which were all dc, then a row of dc in each dc and ch 1 space.
If that reads like Greek to you, don't worry. Basically I just whipped up a quick, small block of stitches in order to test out making a bullion stitch on top of them, like in the video.
Now to try the stitch...first of all, I realized that in the video she doesn't teach how to start a row of bullion stitches. To find that out, I had to go here and read a tutorial using a very different technique that results in a very different looking stitch than the one in the vid.. Anyway, from that link I got an idea of using 2 chain stitches as a substitute for my first stitch and working my first bullion stitch into the second double crochet.
Still with me? Okay. So, I followed the instructions in the video above and...

Um, no. Apologies for the blurry photo, but at least you can see, that is not about to be a bullion stitch. A hot mess stitch, maybe, but no bullion in sight. In the video Ms. Hubert whips the yarn over, under, around and through like it's no big deal but I couldn't come even close to that on my first few tries. I looked at a few other reference guides on and off line as well, some of which suggested using items like knitting needles and pencils as a placeholder to help form the stitch.
Knitting needles? Pencils?

So I kept trying the technique in the Hubert video...and kept looking...and finally stumbled across this excellent tutorial(which is inexplicably part of a natural healing site). From that I got two crucial tips--1)wrap the yarn less times to start with and 2)if you can't pull the hook through all the loops at once, simply pull through one at a time. At least to start with.
Ok, SweetShoppers. Armed with my newfound knowledge, I tried again, wrapping only 5 times and pulling through each loop one at a time...

Victory is mine!!!
I started feeling fancy and did three in the same stitch. The one in the center is wrapped 7 times instead of 5, making a taller stitch.

One thing I learned through my own trial and error--it's better to wrap the yarn coming towards you, not away.. It's much easier to pull the hook through the loops that way.
After trying a half-dozen bullion stitches of varying sizes, I decided I would try the epic 10-wrap stitch from the video at the start...

Ta-da! There's three, into the same double crochet stitch. I think I can see the advantages of creating the stitch in a way that allows you to pull the yarn through all of the loops at the same time--it looks like you probably get a taller, longer stitch. But these little puffy guys are fun too.
So there you have it SweetShoppers...the bullion stitch. A few things I learned from my little experiment...
- Wrap the yarn towards you, not away from you, for the easiest stitch.
- If you can hold the yarn and slide the hook through in one go like Margaret Hubert, I bow in your general direction. If you can't(and I can't...yet), simply pull through a few loops at a time until you get them all off the hook.
- Don't forget to end each bullion/roll stitch with a chain stitch to "lock" the stitch. That makes it much easier to build on top of those stitches and keeps the stitch in a nice, neat shape as you continue to create fabric.
I'm off to create a pattern using this funky new stitch, beautiful people! Let me know in the comments what kinds of things *you* create using it. Peace!
No comments:
Post a Comment